Face Morphing
The focus of this project is to seamlessly transform a source image into a target image. The most prevalent method
of accomplishing this shape transformation is called morphing, which involves joining images through warping and
color interpolation. For this project, I used Python and various NumPy and SciPy methods.
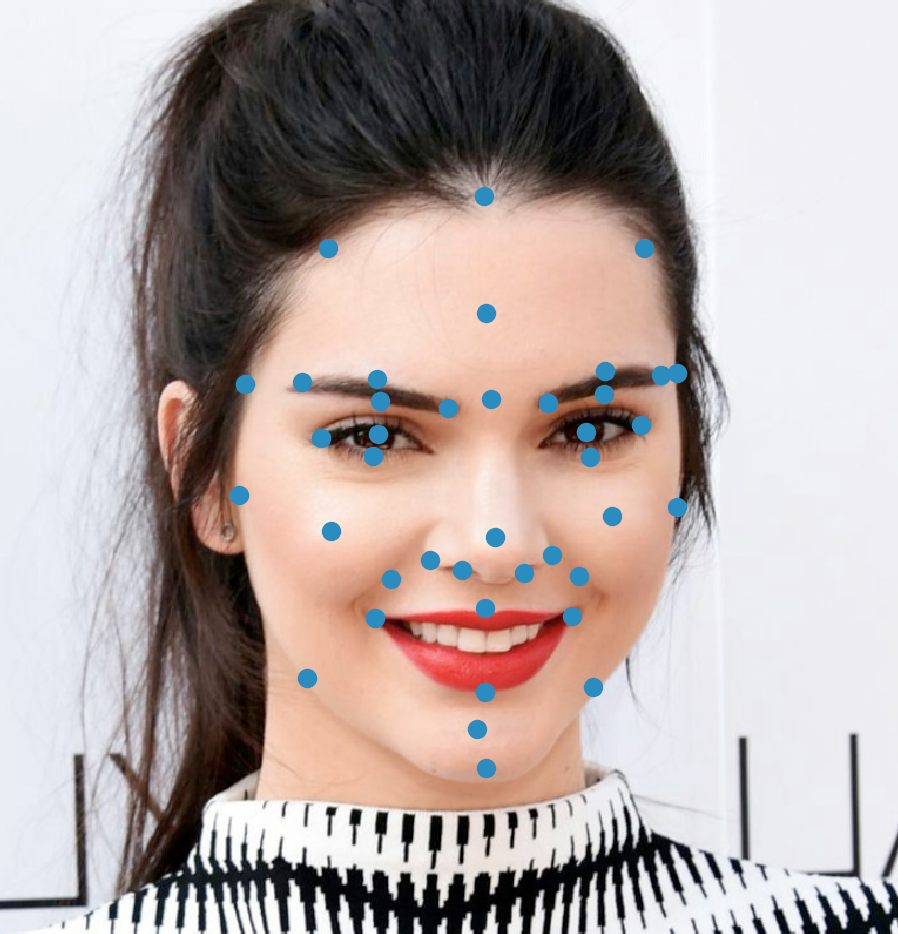
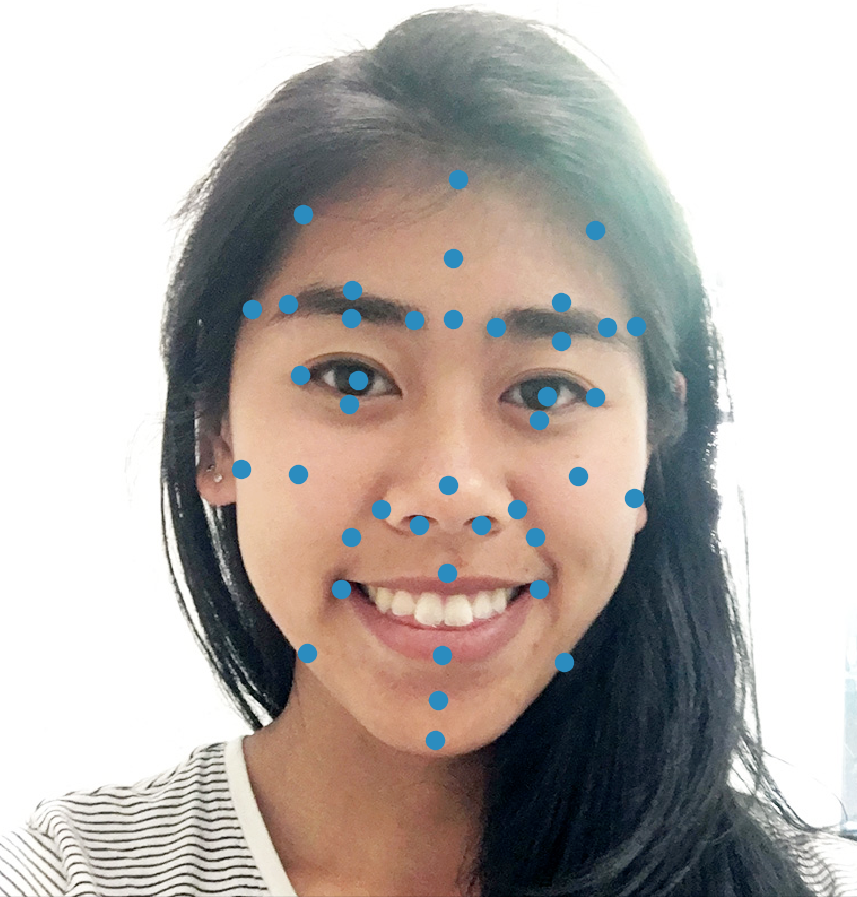
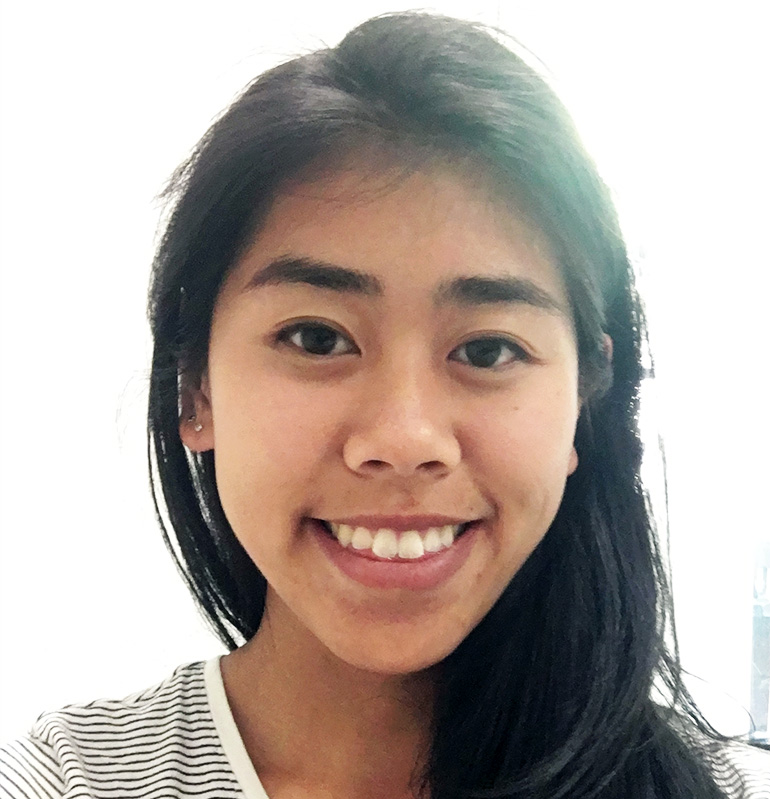
Before tackling the entire morph sequence, I first constructed the midway face of two faces. To warp the
faces into the same shape, I first defined 40 pairs of corresponding points between the two images as you can see
in the images below.
|
|
 I then averaged each pair of points to get the average shape between the two faces. After finding the average shape,
I used Delaunay triangulation to construct triangles from the average points. For each triangle in the shape of the average
face, I found the corresponding triangle in both the original images and calculated the affine transformation between
these original triangles and the average shape triangle using the equation to the right.
I then averaged each pair of points to get the average shape between the two faces. After finding the average shape,
I used Delaunay triangulation to construct triangles from the average points. For each triangle in the shape of the average
face, I found the corresponding triangle in both the original images and calculated the affine transformation between
these original triangles and the average shape triangle using the equation to the right.
Finally, I used the triangles to morph the original faces into the average shape through inverse warping.
I calculate the pixel location using the inverse of the affine transformation between corresponding triangles
to find the location in the original image to grab a pixel value from: (x, y) = T-1(x', y'). If the pixel location ended up between locations, such as if the location was (1.4, 2.5), I
used SciPy's built in interpolation function to extract the color values. Once the two images are warped to the same face shape,
I simply averaged the color values for each pixel location to get the midway face.

|
|
|
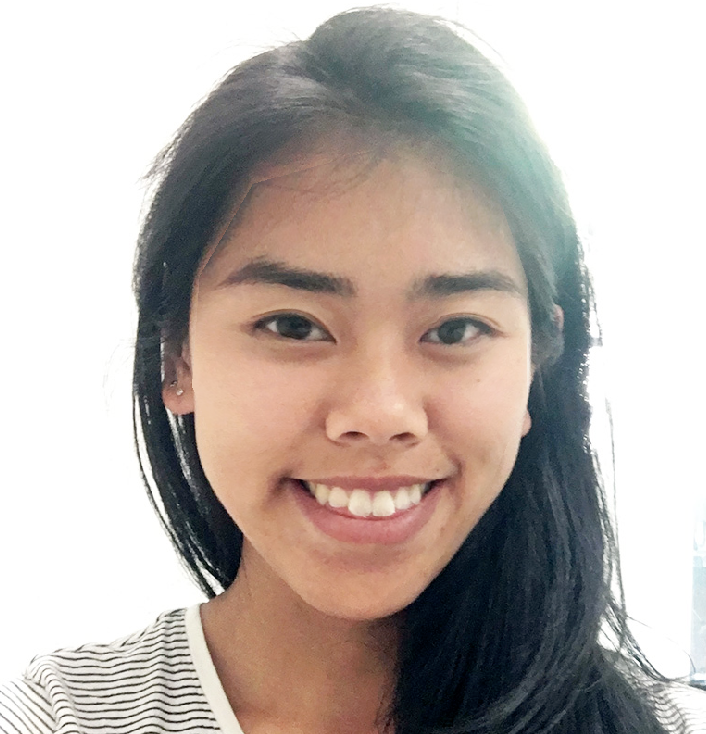
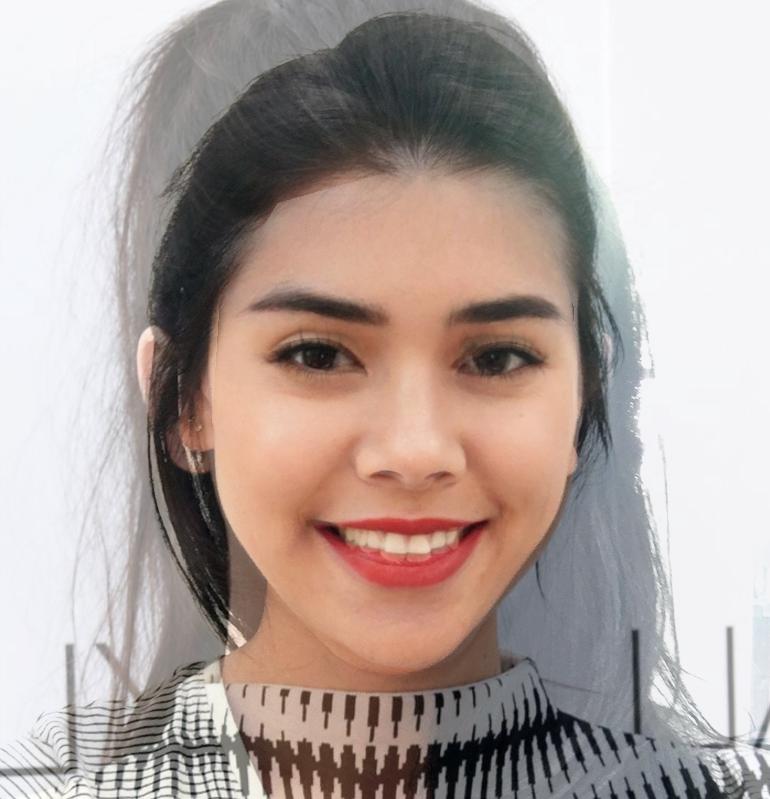
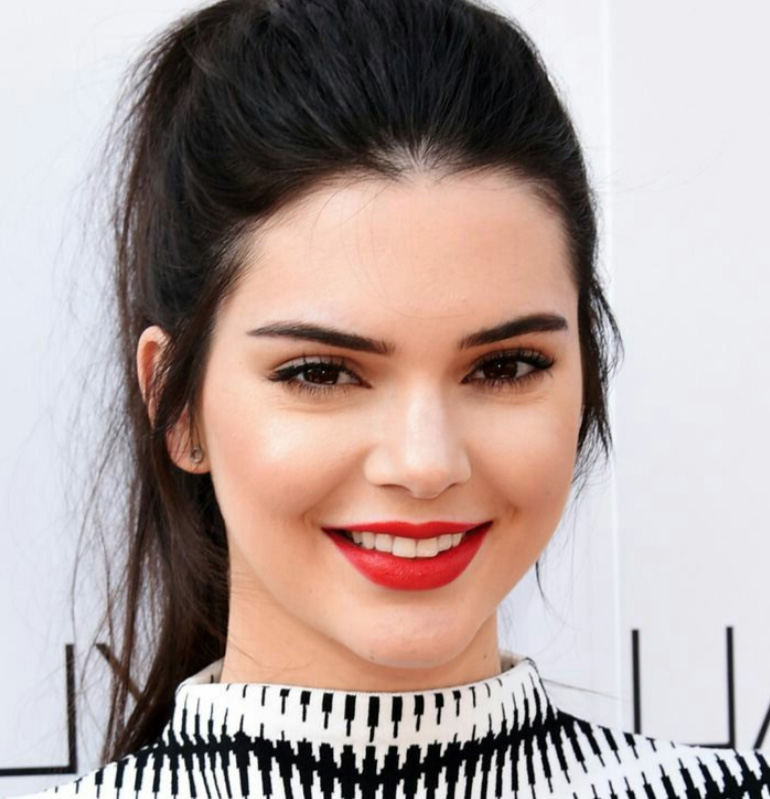
Once I figured out how to compute the midface, creating the morph sequence is fairly straightforward. One can think of the midway face as using an even weight of 0.5 for warping and pixel values of the two images. By adjusting the weight gradually, I can create a gradual transformation of my face to Kendall Jenner's. That is, the first frame of the sequence has a weight of my as 1 and a weight for Kendall's face as 0 and vice versa for the last frame. The weight affects how much the face shape and colors of the particular frame looks like each original image.
|
|
|

|
|
|
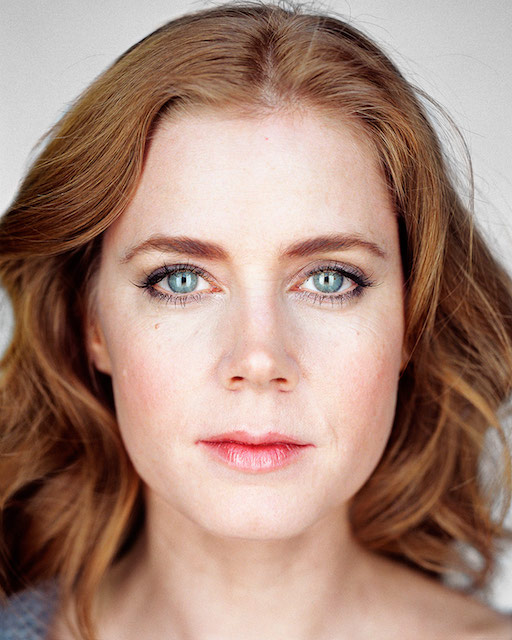
As you can see, rather than simply cross-dissolving, the face shape warps as the images transform from one to another. The warping is a bit more subtle when the two faces are more similar in pose and structure, as in the case of Amy Adams and Anne Hathaway. For each of the morph sequences, I had 45 frames, so I calculated the face shape, triangulation, and pixel values 45 different times to create each gif. Overall, the program took around 20 minutes to create each morph sequence, but could be sped up if the images were of a smaller size or if I utilized threading.
Gradient Domain Fusion
Gradient-domain processing is a method used to seamlessly blend an object onto another image. When copying an object
directly onto a background image, there is an obvious seam since the colors often do not match. It would be ideal to
prevent such an edge from existing while still preserving the image being placed (the source image). We can do this by creating
the source image with gradients rather than existing pixel values.
So how does gradient-domain processing work? Essentially, the goal is to recreate some image v that looks as similar
to the source image as possible. Rather than being made up of pixel values, we recreate v with gradients, which can be thought
of as differences in pixel values from neighbors. This goal comprises the first half
of the equation below. We calculate this for all the pixels in the source image except for the border pixels.
For the border, we want the edge to match that of the target image, so we can simply use the actual pixel value from the target image.
This provides another constraint, which you can see in the second half of the equation. Using NumPy's linear algebra solve function,
we solve the final equation, minimizing the error, and calculating the values for each pixel of v. Now that v is constructed
in relation to the target image, the final result has a seamless transition between the two images.

|

|
|
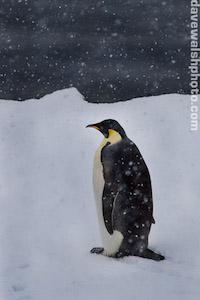
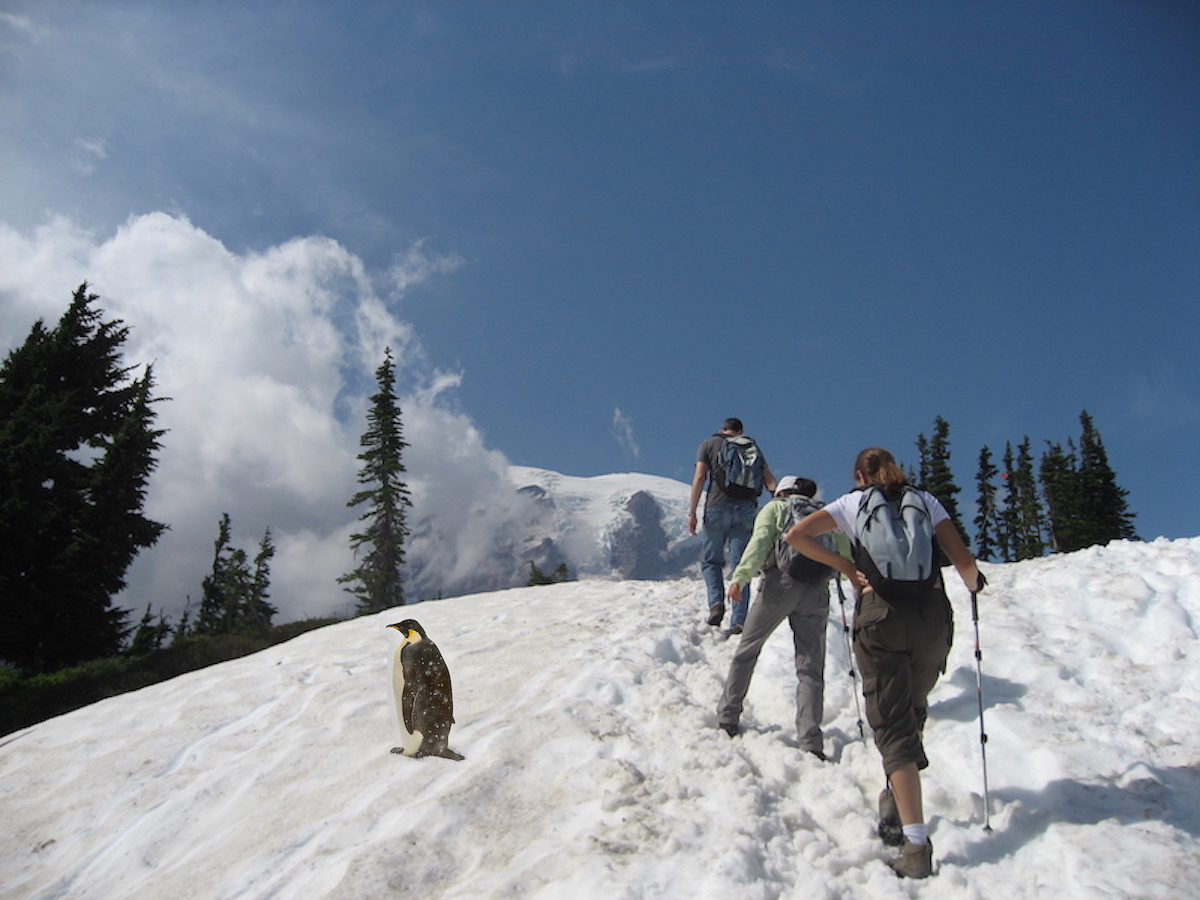
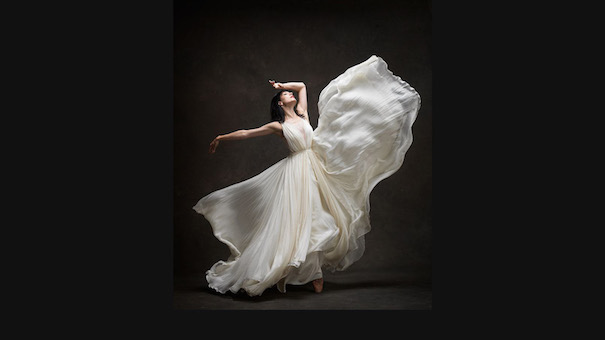
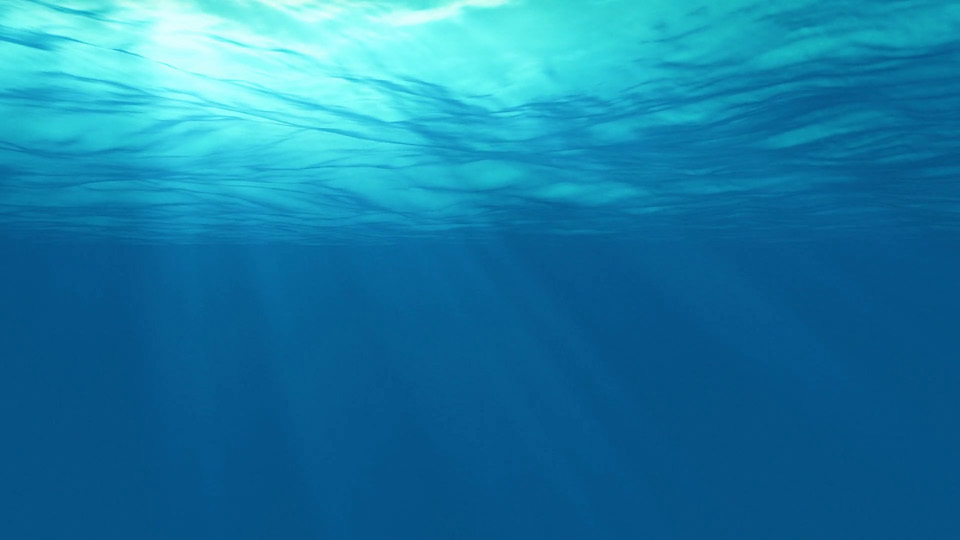
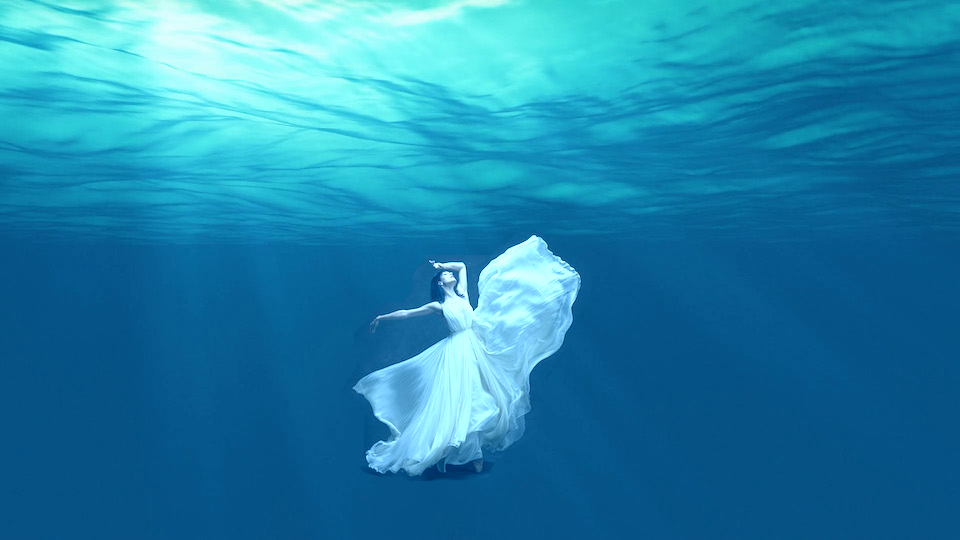
Since the only change to the source image is the coloration, the best results are when the background texture of the source and target image are the same, such as snow in the example above. Other textures that may work well are sand or water, since they provide a similar level of detail as snow. For the photos below, although the backgrounds are not the same, the texture of the water is smooth enough to be similar to the black background of the dancer, so the results still don't show an edge between the two images.
|
|
For this picture, I was inspired by the idea of photographing models underwater. I wanted to create a similar type of photo without actually being under the water, so I used an image of a dancer as my source image and the underwater ocean as my target image. There is a slight shadow underneath the dancer, since this was a part of the source image, but it is difficult to see because of how subtle the shadow is to begin with. The shadow can't be removed because gradient domain fusion only adjusts the pixel values, not their contrast to each other.
|
|
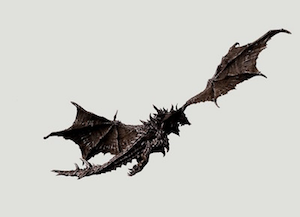
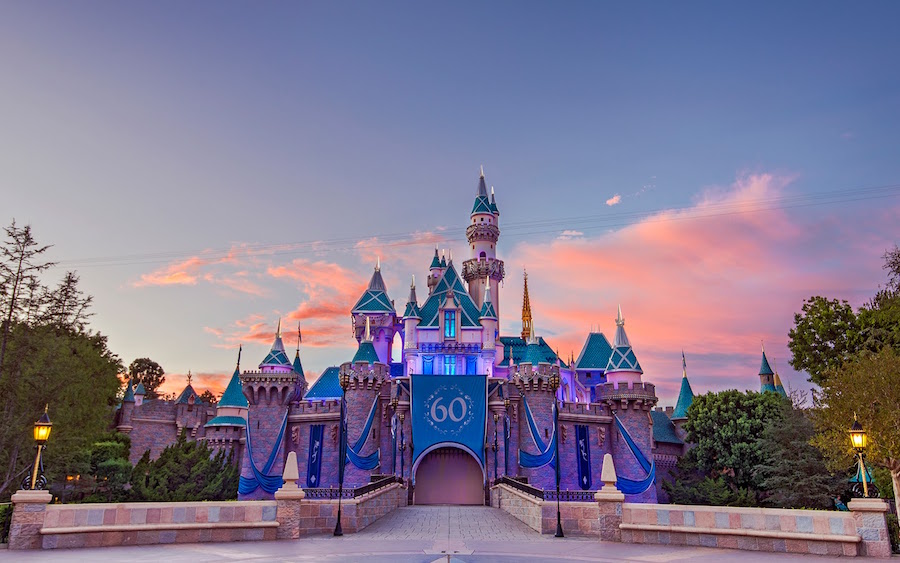
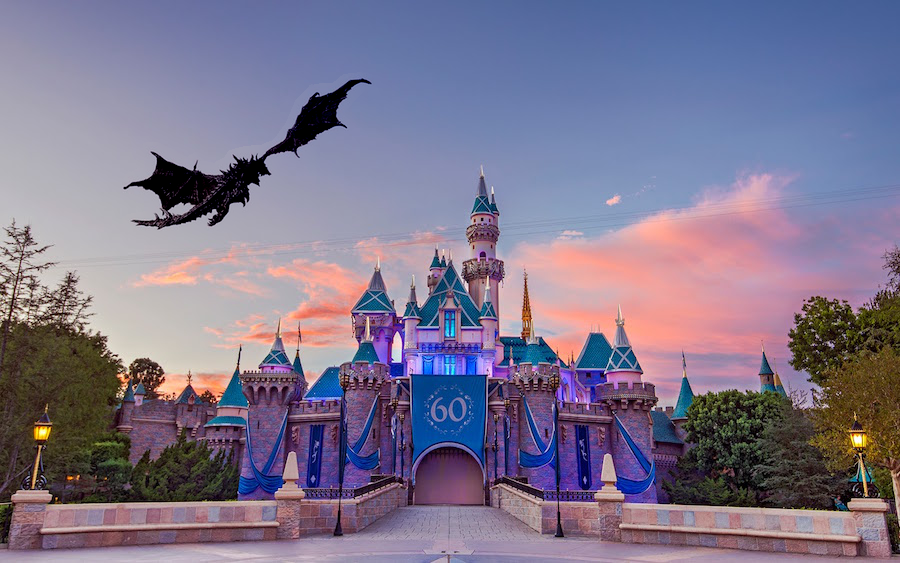
Wanting to go in a more whimsical direction, I decided to make it look as if a dragon were flying around the castle in Disneyland. Since the source image is on a plain background, we do not run into issues like the shadow underneath the dancer. As mentioned before, this results in a edgeless final image only when the source is placed in a similarly un-textured background. You can also see that the dragon is a bit darker in the final image. This is because the blue of the sky is darker than the lighter background in the source image, and since we use gradients to create the dragon, the overall pixel values are darker.